I’ve wanted to be a travel blogger since I was a teen. Amber Fillerup of Barefoot Blonde and Julia Engel of Gal Meets Glam were among my first blog muses. They inspired me to push past my fears and learn how to start a successful travel blog, thus the Beauty of Traveling was started in the fall of 2017. It’s crazy to think I’m about to celebrate two years of blogging. Time flew by.
Two years ago I was in your shoes. I spent hours scouring the internet for “how to start a blog” posts. I was overwhelmed with all of the details. That’s why I’ve simplified the blog planning process to the five steps listed below. I encourage you to push past your fears, doubts, excuses, and whatever else is holding you back! With these five simple steps, you can create a blog in no time!
Of course, feel free to leave a comment below if you have any questions about how to start a travel blog. Or any blog for that matter. I would love to help!
Disclosure: I may earn a small commission for my endorsement, recommendation, testimonial, and/or link to any products or services from this website. Your purchase helps support my work in bringing you real information about travel + lifestyle. (Read full disclosure here)
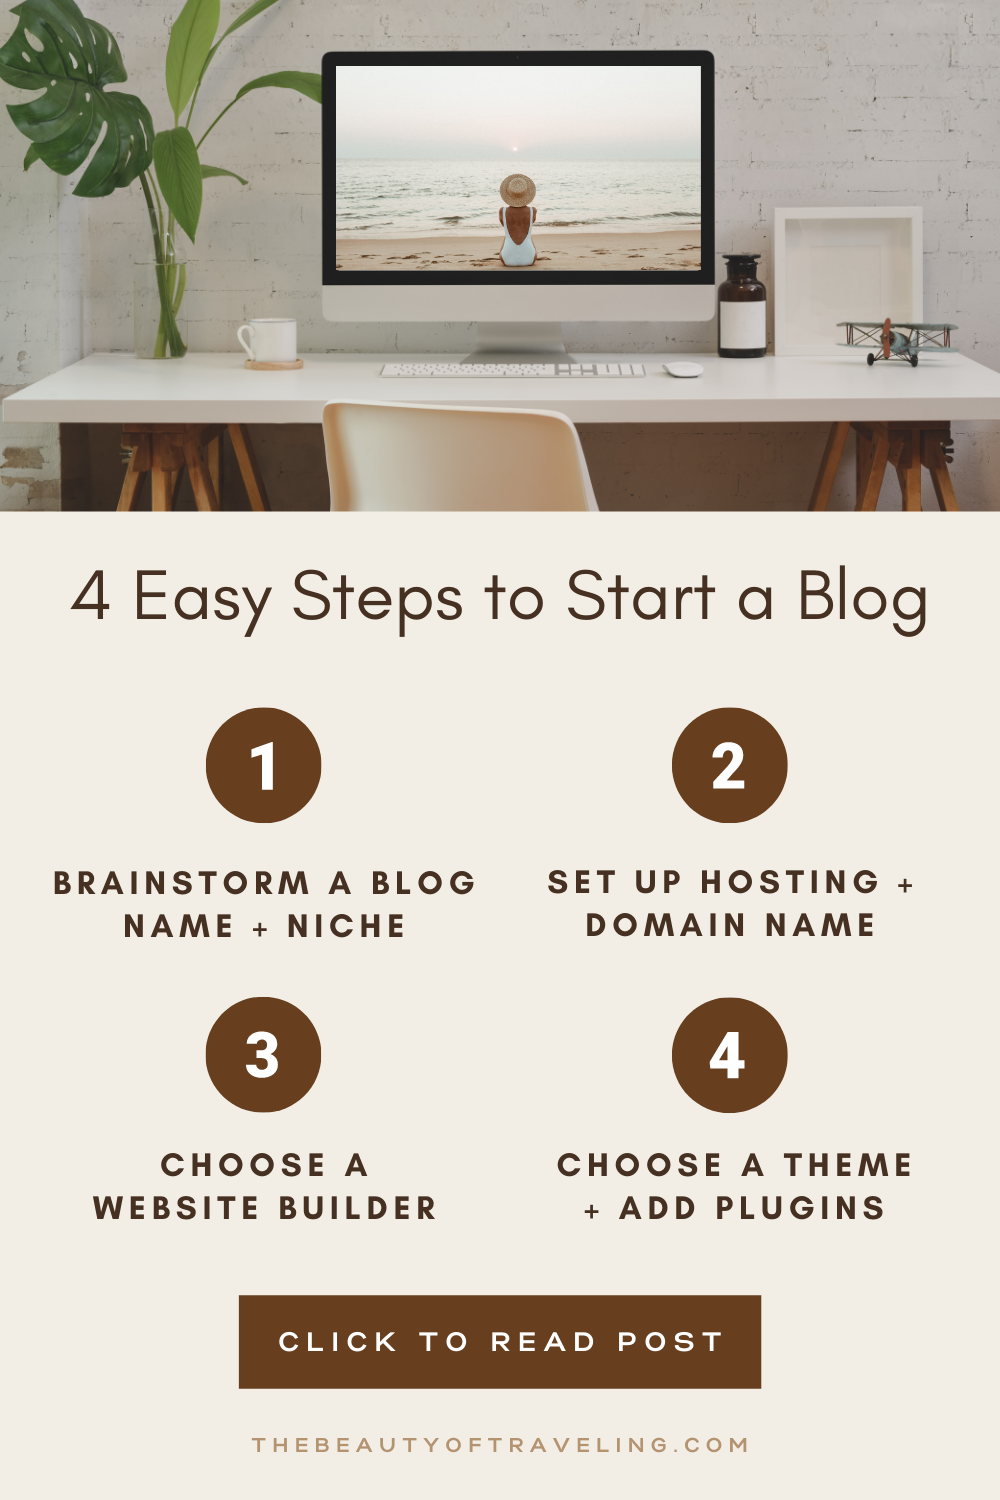
STEP 1: BRAINSTORM YOUR BLOG’S NAME & NICHE.
One of the hardest things about starting a blog is choosing the name. I took over a week to decide on one. In the end, I chose The Beauty of Traveling to pair with my Etsy shop at the time, The Art of Traveling. There’s a lot of pressure to choose the perfect name. Before you make any decisions I suggest you do some brainstorming! Dream about the brand that you want to create. Who do you want to reach? What do you want to write about? What are your overall blog goals? These are all questions to ask yourself during the planning process.
After you’ve decided on a blog name and identified your niche, it’s time to move on to step two.
STEP 2: SET UP HOSTING & DOMAIN NAME.
Now that you’ve decided on a blog name it’s time for you purchase a domain name & hosting plan (this is what is going to power your website.) There are a lot of hosting companies out there – but the two biggest and best are HostGator and Bluehost.

Even though I currently have an account with Bluehost I would recommend HostGator because they’re super affordable! This was a big deal to me when I was just getting started and couldn’t justify putting a lot of money into my blog. I plan to switch over to HostGator when my current subscription expires next year.
STEP 3: DECIDE ON A WEBSITE BUILDER
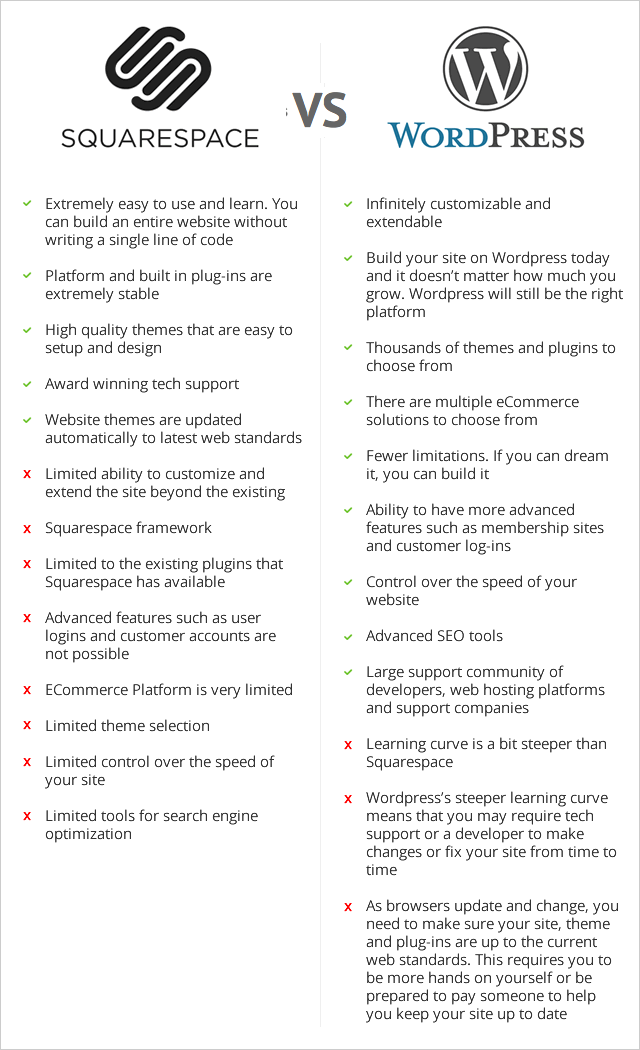
There are really only two website builders I would recommend using, WordPress or Squarespace.
I’m an avid WordPress fan whereas my boyfriend made his photography website on Squarespace. Instead of writing out the differences between the two platforms, I found this great graphic from WPCURVE that covers everything! Make sure to check out their article to read more about WordPress vs Squarespace.
If you decide on WordPress you can install it using HostGator with these three steps!
- Log in to your cPanel
- Click on “Quick Install” under Software Services
- Follow the easy prompts!
If you’re having trouble, here’s Hostgator’s guide.
STEP 4: CHOOSE A THEME AND ADD PLUGINS
Now for the fun part, choosing a theme. There are so many themes and plugins out there! WordPress is a lot more customizable than Squarespace when it comes to plugins, but they both have a great selection of templates/themes.
SQUARESPACE TEMPLATES
Squarespace organizes their templates based on the purpose of your website. Whether it’s a travel blog, food blog, photography portfolio, etc. Each template comes with video instructions on how to create the design in your Squarespace account using the built-in style editor. It’s super easy to set up and there is NO coding required.
WORDPRESS THEMES
If you’ve chosen to go with WordPress, you have complete control over your blog’s appearance. When you’re just starting out it’s okay to take advantage of the many free themes. There are also many companies out there that offer paid themes. I would recommend Woo Themes for a paid theme.
Plugins are a great way to make your blog function smoother. They are easy to install and can help customize your look. Here are some plugins that you may want to consider installing:
- Yoast SEO – This plugin makes it easier for you to post SEO-friendly content
- Akismet – It can be a challenge to keep up with and delete all spam comments. Akismet does all of the work for you.
- Social Media Share Button – This plugin makes it easy for your readers to share your content with a click of a button.
- Jetpack – Bring the power of the WordPress.com cloud to your self-hosted WordPress. Jetpack enables you to connect your blog to a WordPress.com account to use the powerful features normally only available to WordPress.com users.
STEP 5: CREATE CONTENT
When you’re first getting started, you may struggle to post regular content. That’s definitely something I still struggle with. It’s a great idea to set a goal and keep a calendar of scheduled posts. Try not to get discouraged at the beginning when your blog views are low. It takes time to build up a blog.
I hope this “How to Start a Blog guide” was helpful! Who knows, in a couple of years you could be writing a how-to guide for your own blog. But that’s only if you START NOW.